Survey and collector testing
Before you launch your study and send the survey to your respondents, perform a test. This article explains how to test the survey and the collector. Testing is possible on three levels.
You can independently test :
- The invitation messages to the survey
- The survey itself
- A full test of the survey and the collector
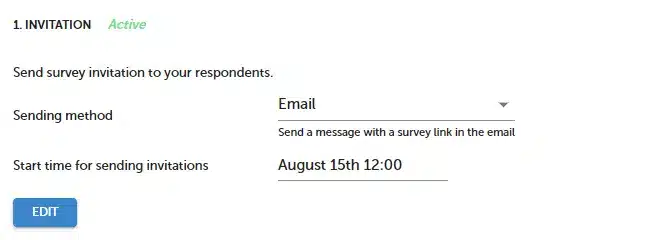
Survey invitation message testing
The testing method will vary depending on the type of collector you have selected. To test the invitation message for the survey:
A. URL link collector
You perform the test yourself in the tool you will be using to send the invitations.
B. Email / SMS invitation collector
- Select survey which you want to test.
- Press
![[C]](data:image/svg+xml,%3Csvg%20xmlns='http://www.w3.org/2000/svg'%20viewBox='0%200%2018%2018'%3E%3C/svg%3E) COLLECT RESPONSES button, to go to the list of collectors.
COLLECT RESPONSES button, to go to the list of collectors.
- Select collector you want to test.
- Press SHARE button.

- Press EDIT button.

- Press TEST button.


NOTE. The test email you receive will not contain actual survey links, only a test link. If you also want to test how the link and the survey itself work, perform a full test. To do this, create a survey collector.
Survey testing
To test the survey:
- Go to survey list
- Press survey name
- You will be redirected to the survey preview.

NOTE. Responses given in preview mode are not saved. Some features, such as piping (inserting content), will not be available in this type of test. To test all functionalities, perform a full test by creating a survey collector.
Full survey and collector test
To perform a full test :
- Select survey you want to test.
- Press COLLECT RESPONSES, to go to the list of collectors
- Create new collector or create copy of existing one.

- If you are testing the Email/SMS Invitation option, add your own email address to the recipient list. To do this, click the Contacts button, then click + ADD CONTACTS.


NOTE. After completing the test, you can delete the created collector. Deleting the collector will also remove all data associated with it.